|
JavaXT
|
||
How to Create a JNI with Visual Studio 6Visual Studio 6 is the ideal environment for building JNIs on Windows because the resultant DLLs have virtually no dependencies! You can't really say the same thing with later versions of Visual Studio which introduce dependencies on the .NET framework (e.g. MSVCP71.DLL and MSVCR71.DLL) and Side-by-side (SxS) assemblies. In this tutorial, I will outline the the steps I took to compile and build a 32 bit JNI for Windows using Visual Studio 6. I have posted instructions for how to compile a 64 bit application here. Step 1: Create a New Visual Studio ProjectOpen Visual Studio and go to File->New... In the Project tab, select "Win32 Dynamic-Link Library" and 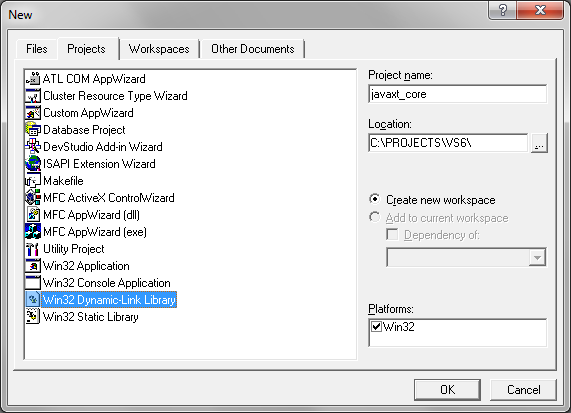 Step 2: Add Java Includes
Add path to jdk/include and jdk/include/win32. 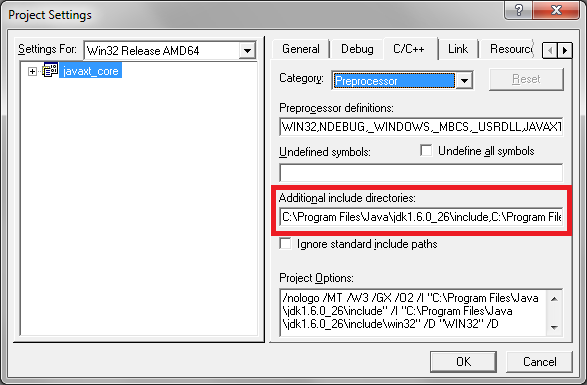 Step 3: Disable Precompiled HeadersDo not use Precompiled Headers: 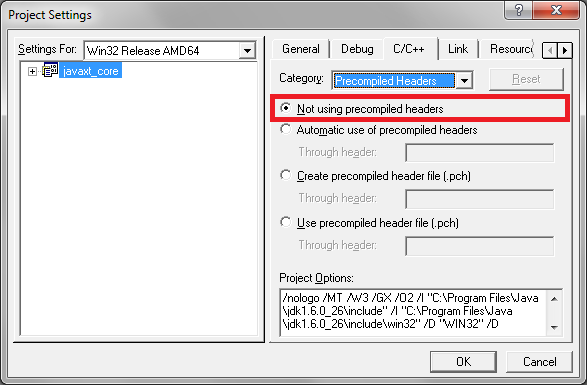 Step 4: Create a Java class with "native" methodsStep 5: Create a .h file using javahStep 6: Add the .h file to your project and create a .cpp fileNext step is to implement the "native" JNI methods. Step 7: Compile and Build the DLLStep 8: Implement Java-Side CodeRuntime Errors
|
||